
How To Create a Gruesome Zombie Illustration

October is near, which means designers and illustrators get that extra excuse to include skulls, zombies and monsters in their work with the arrival of Halloween. Follow this step by step Adobe Illustrator tutorial to create a hand-drawn zombie illustration. We’ll use a photograph as a basic reference then use our Wacom tablet along with Illustrator’s vector brush tools to draw up various gruesome elements on our zombie character.
I’ve never been much of a hand-drawn Illustrator myself but I’ve always admired the style of artwork and researched into the techniques often used. In this tutorial we’ll look at how Illustrator’s brushes can be used to create crisp vector linework to achieve that digital inked appearance. We’ll be using Pen tablet throughout the tutorial so we’ll see how variances in line weight can help build up areas of contrast and detail in the artwork.
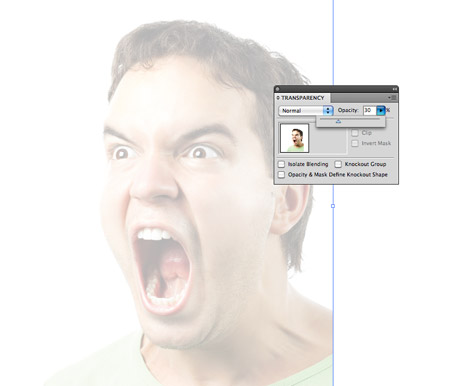
Even the pro artists sometimes struggle to achieve spot on proportions when drawing human faces or bodies. For our artwork we’ll use a stock photograph as a reference. Search for a suitable image of someone in a ‘screaming’ or ‘shouting’ pose. Go to File > Place to import the image to Illustrator, turn down the opacity to around 30% then lock it into place (CMD+2).
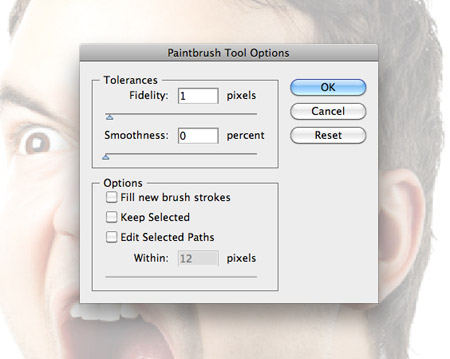
The method used in this tutorial is the hand-drawn technique using a Wacom pen tablet. It’s perfectly possible to use vector shapes or mouse-drawn brushes but this guide will cover the steps for illustrating by hand. Double click the brush tool and alter the settings to 1px Fidelity and 0% Smoothness. Make sure none of the options are active.
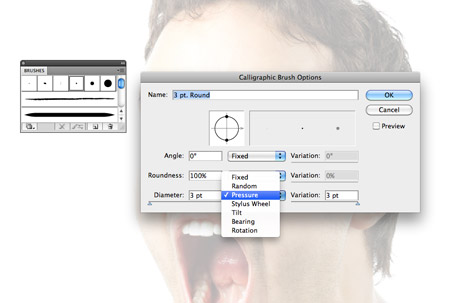
Double click the default small round brush in the Brushes palette to change its options. Change the Diameter option to Pressure and increase the Variation to the max. This will allow us to vary the weight of the lines depending on our pressure with the pen.
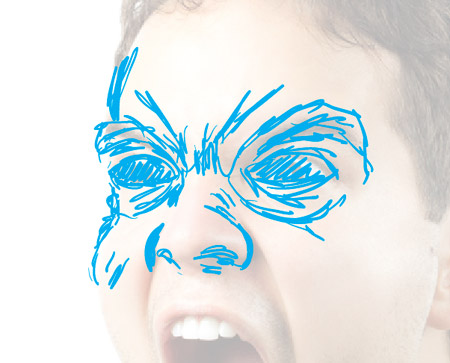
Select a cyan stroke colour for the brush, then begin roughly sketching out an evil zombie appearance over the reference photograph. Use the facial features as guides but add in sharper lines for an aggressive apperance.
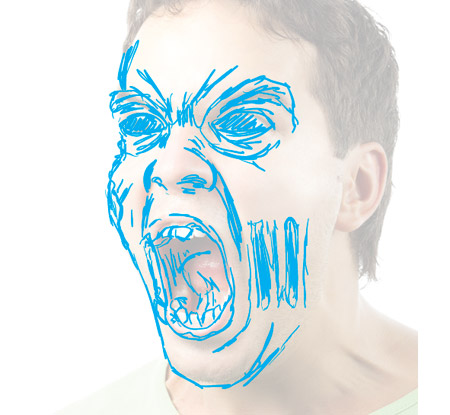
Continue sketching out the rough zombie artwork on top of the original photograph using the basic facial features as a guide.
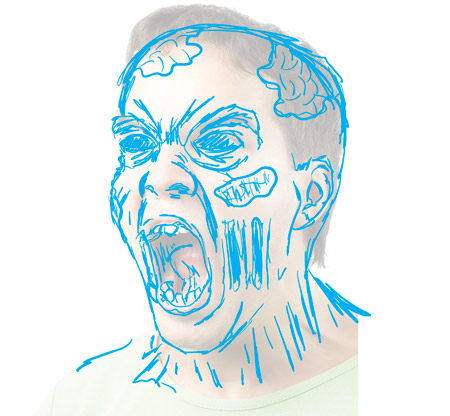
Use your imagination to include gruesome features such as exposed zombie brains or torn flesh. The detail of the sketch can be very rough and basic at this stage. Free flow with the pen and don’t worry about mistakes, just draw right over them.

Group all the blue linework that makes up the rough sketch, change the opacity to 30% then lock it into place. We’ll now use this blue sketch as a guide for the main artwork.
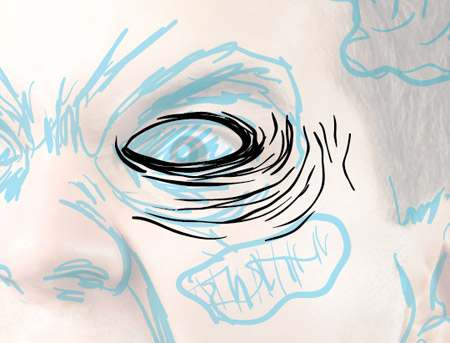
Use the same brush settings but this time with a black stroke to begin illustrating the final linework. It can be easy to remain in rough-sketch mode but try to take your time to make every line as neat as possible.
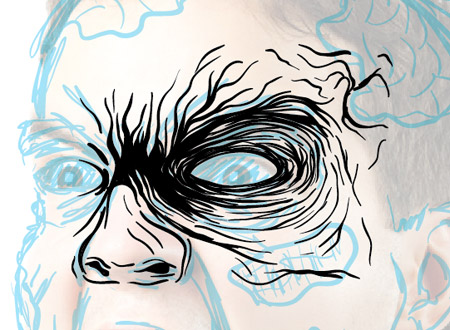
Work outwards from a key area such as an eye and try to include variances in weight with every line by adjusting the pressure with the pen.

Keep your hand on the CMD+Z shortcut to undo unwanted lines. Use heavier weight lines around the outline of the artwork while keeping the finer details much lighter.

Aim to draw lots of short lines rather than long flowing outlines. The short lines are much easier to draw with the limited space on the tablet surface and the tails of the lines help achieve that traditional inked appearance.

Use Illustrator’s Blob brush to fill enclosed areas with a solid fill. The brush tool creates individual stroked lines, whereas the blob brush will create a solid shape.
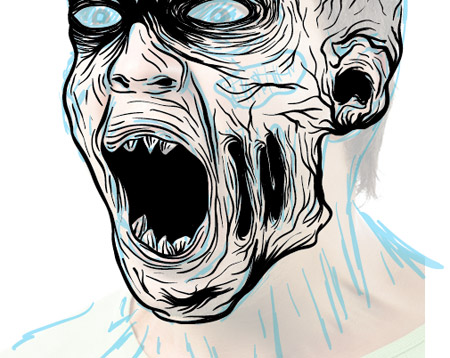
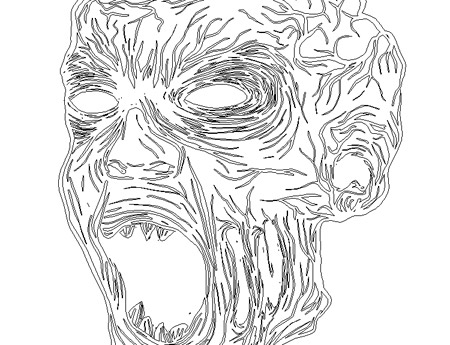
Finish off drawing in the linework until you’re happy with the final appearance. Don’t forget you could make duplicates of the artwork at various stages. For instance if you’re unsure if your artwork needs more or less detail, make a copy then compare the two.
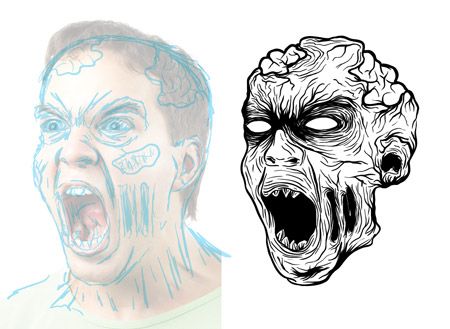
Once the final inking is complete group together the elements and move them to one side to see a clear view of the linework alone.
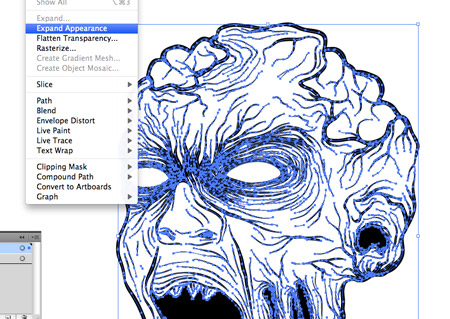
The illustration is currently made up of hundreds of strokes. Go to Object > Expand Appearance to convert the paths into solid shapes.
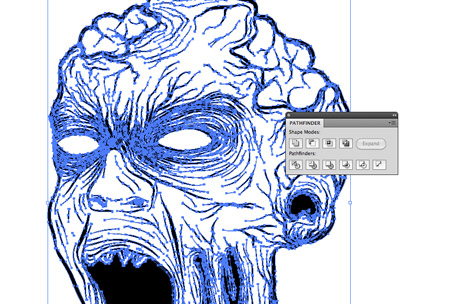
The illustration is still made up of lots of individual elements, so use the Merge option from the Pathfinder palette to blend all the shapes together.
The final artwork is now made up of one solid object, making it much easier to change colour. Toggle outline mode (CMD+Y) to clean up any tiny stray shapes that may have been created from the conversion from brush strokes to shapes.
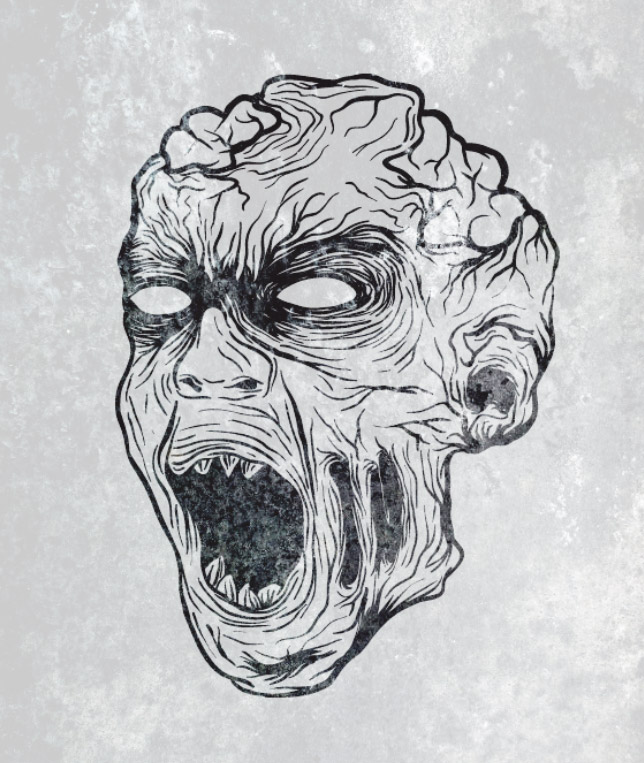
Our gruesome zombie illustration is now ready to be used in your next apparel or poster design!
~http://blog.spoongraphics.co.uk/
No comments:
Post a Comment